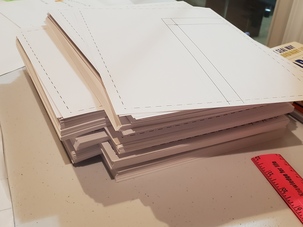
01. Portion of the 1123 pages to
print pattern
|

02. Putting pattern together
|
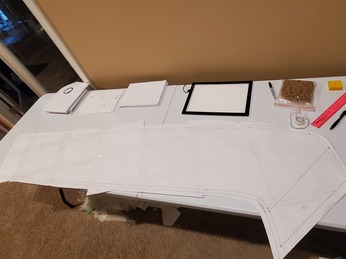
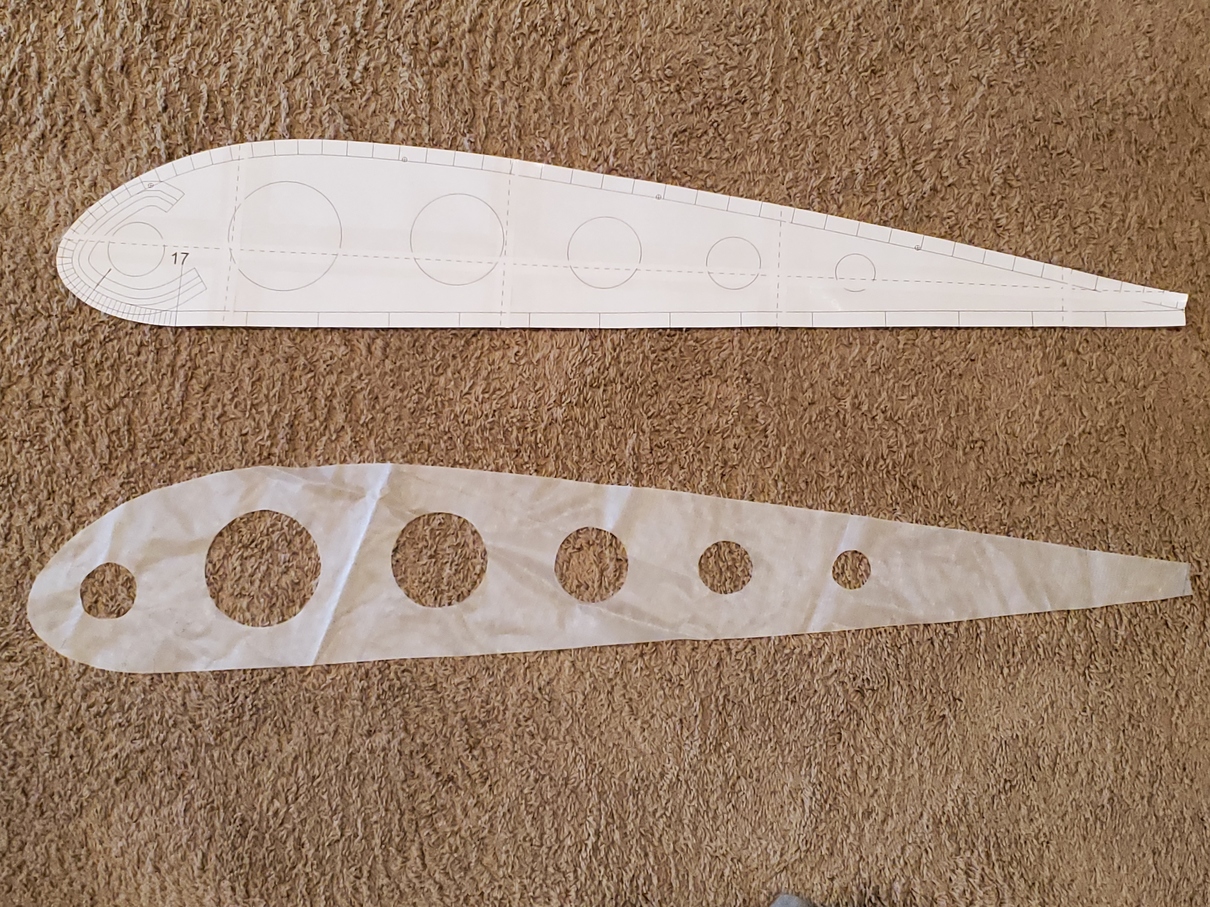
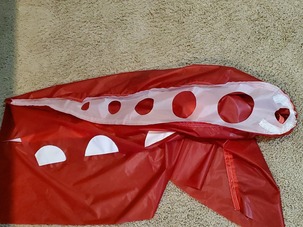
03. Completed panel pattern
|

04. Completed rib patterns
|

05. Rib 17 fabric cut
|
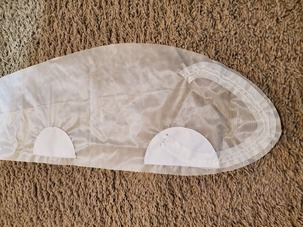
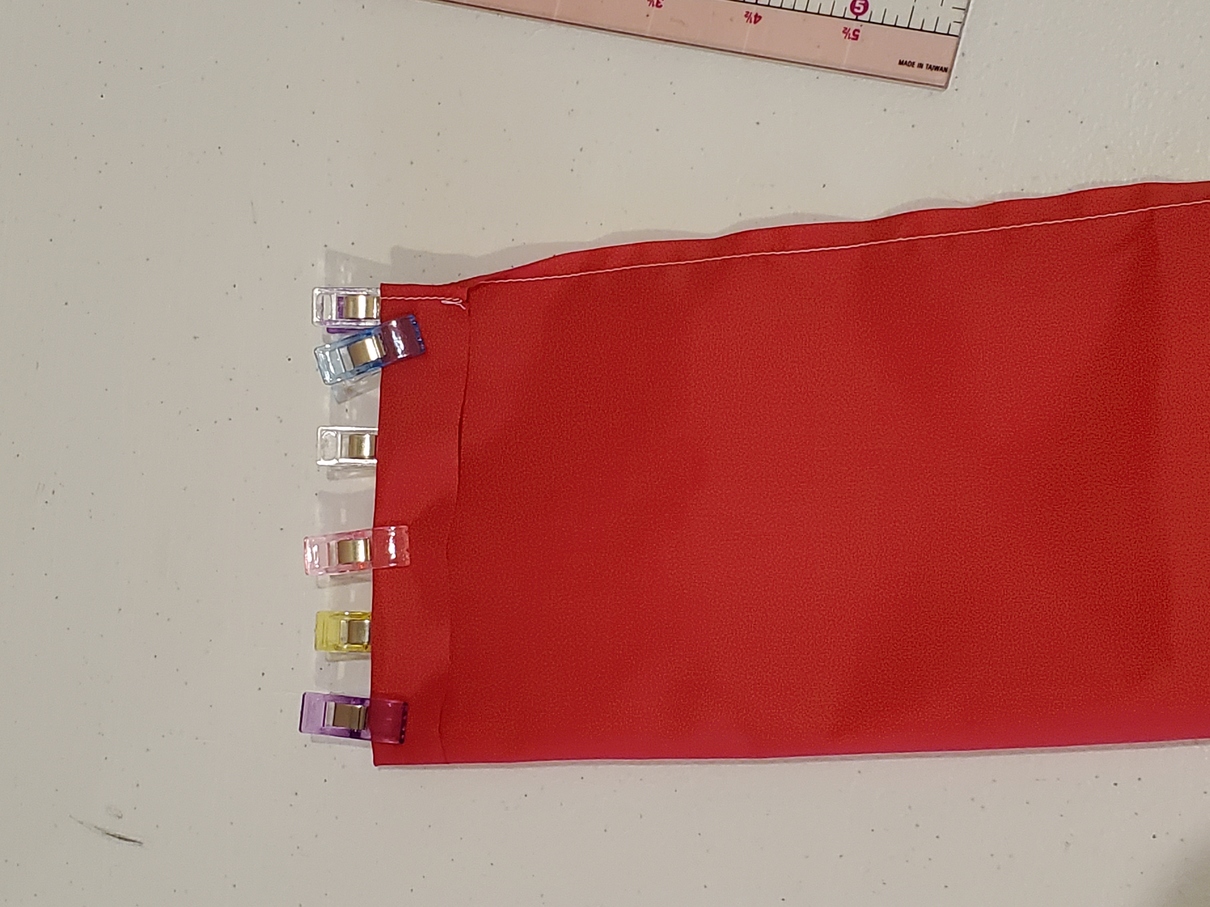
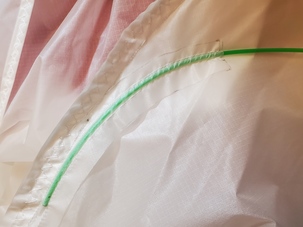
06. Rib 16 with rod pocket and
attachment reinforcements (Ottertex Polyester Ripstop)
|

07. Cutting lower panel
|

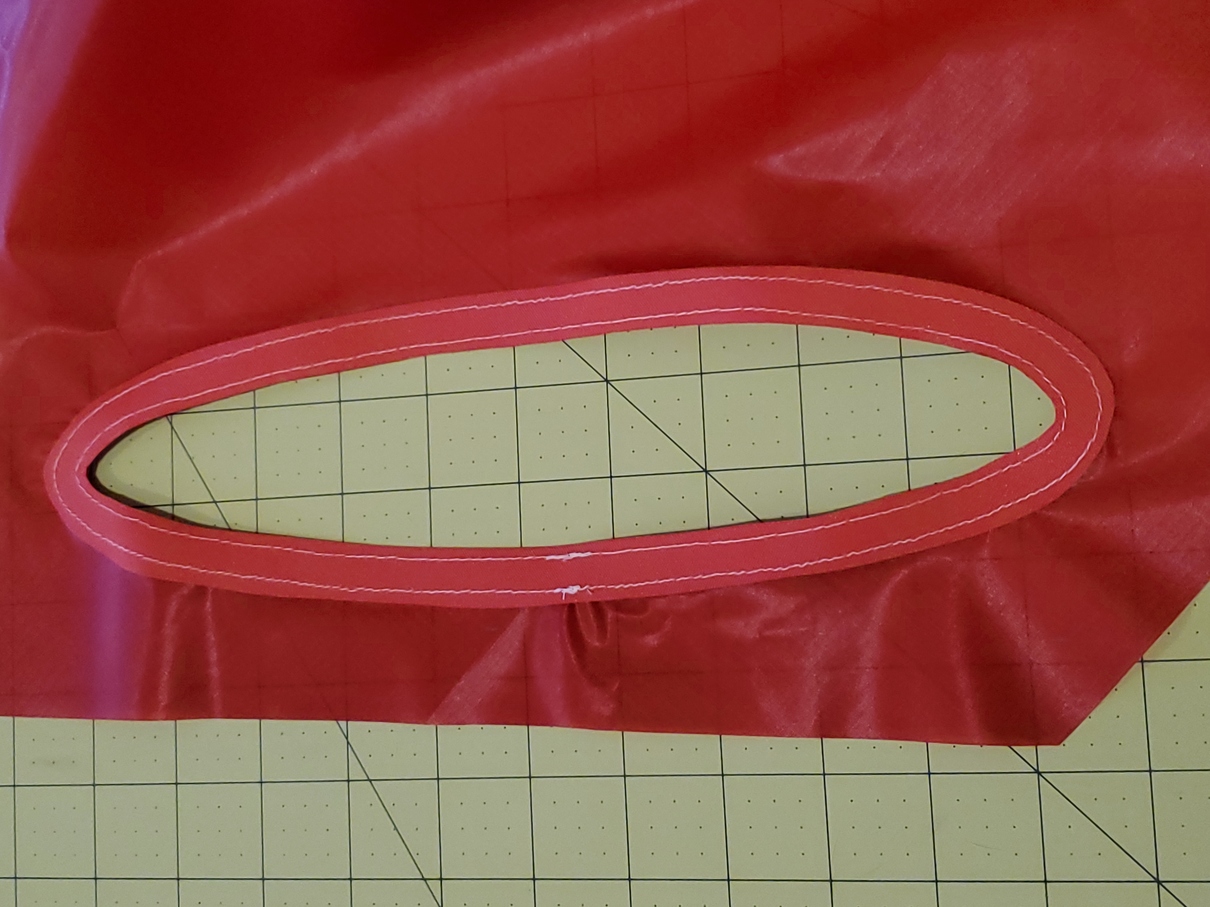
08. Cutting reinforcement
(Ottertex 210d Polyester Canvas) for elliptical inlet
|

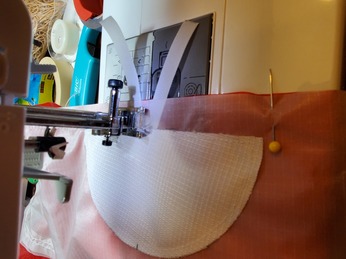
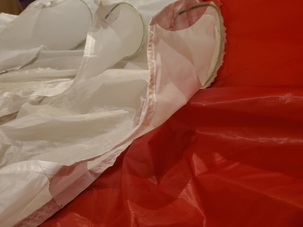
09. Attaching inlet reinforcement
|

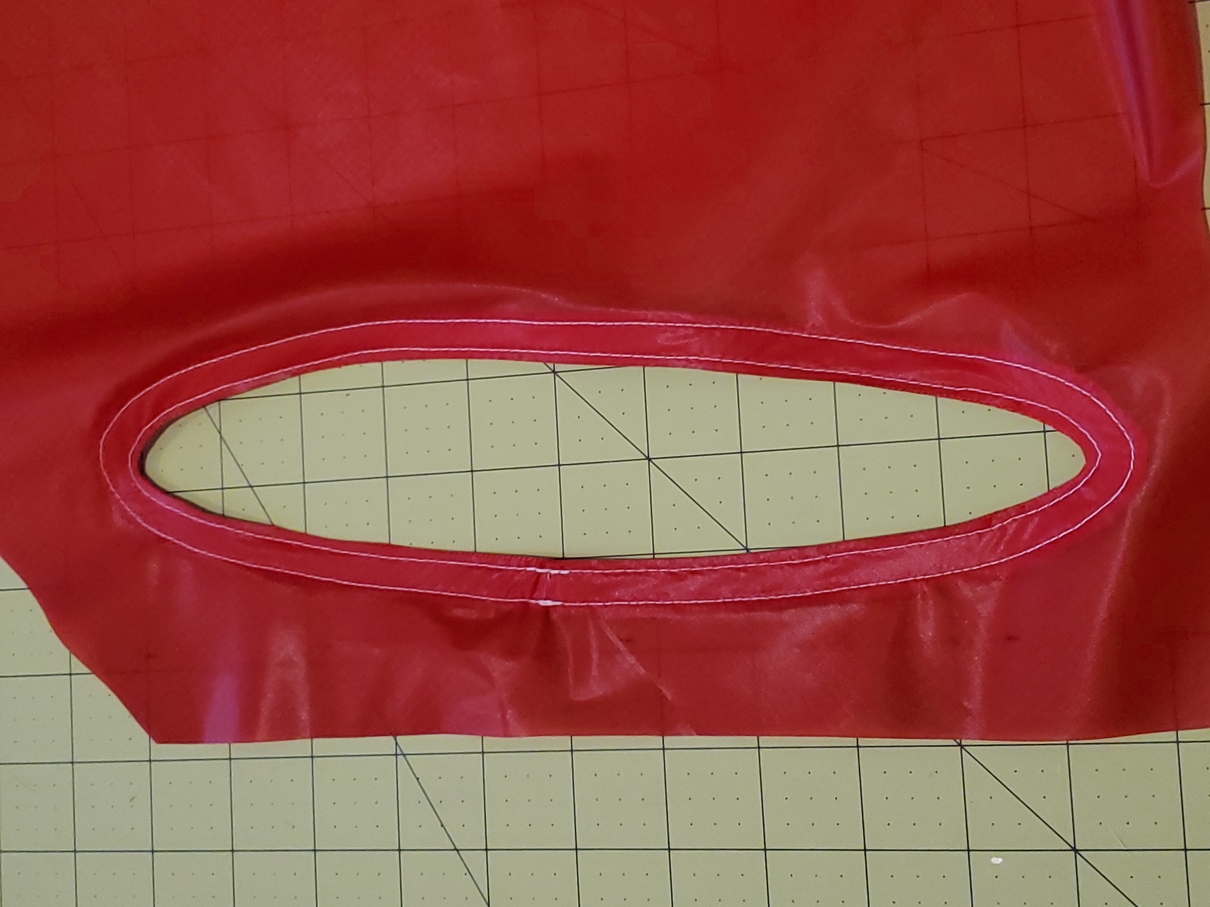
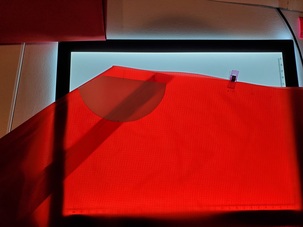
10. Inlet complete front
|

11. Inlet complete back
|
12. Sew upper and lower panel 17
leading edges together
|

13. Lower panel 17 pinned to rib
16
|
14. Sew lower panel 17 to rib 16
and insert attachment points
|

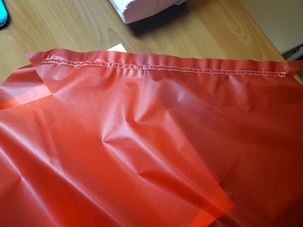
15. Sew second seam along bottom
of rib 16
|
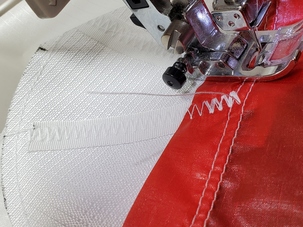
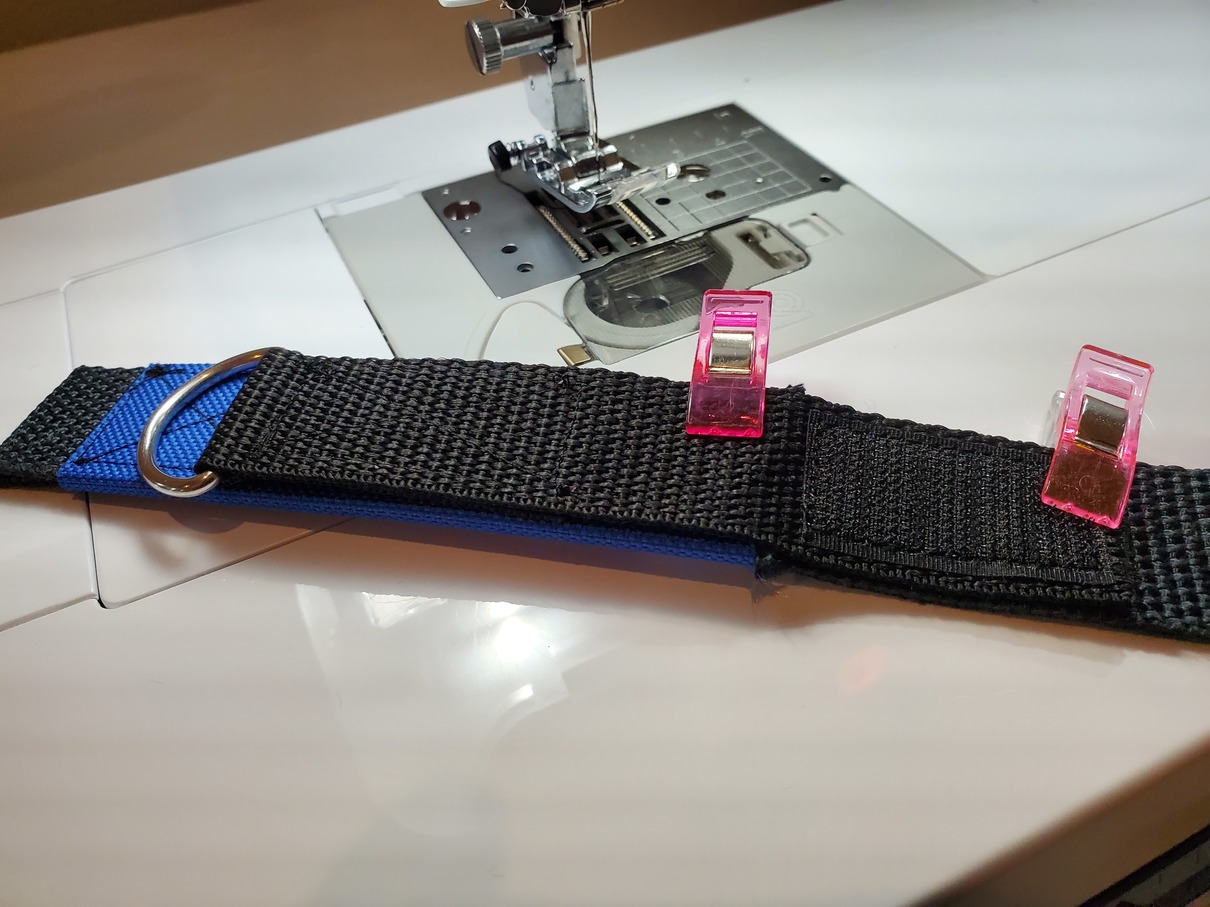
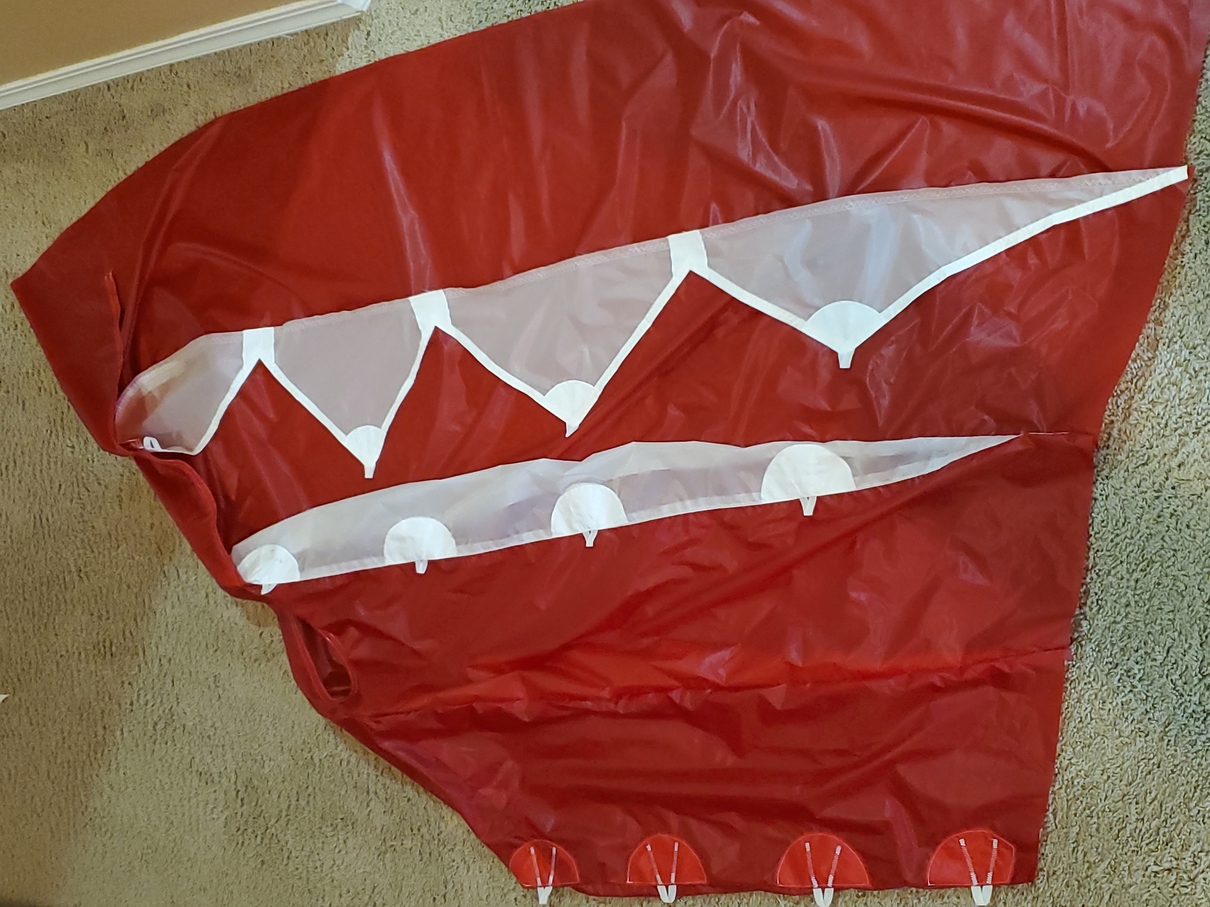
16. Sew attachment points to rib
16
|
17. Sew upper and lower panel 18
leading edges together
|
18. Fitting reinforcements to
lower panel 18
|

19. Attach reinforcements to
lower panel 18
|

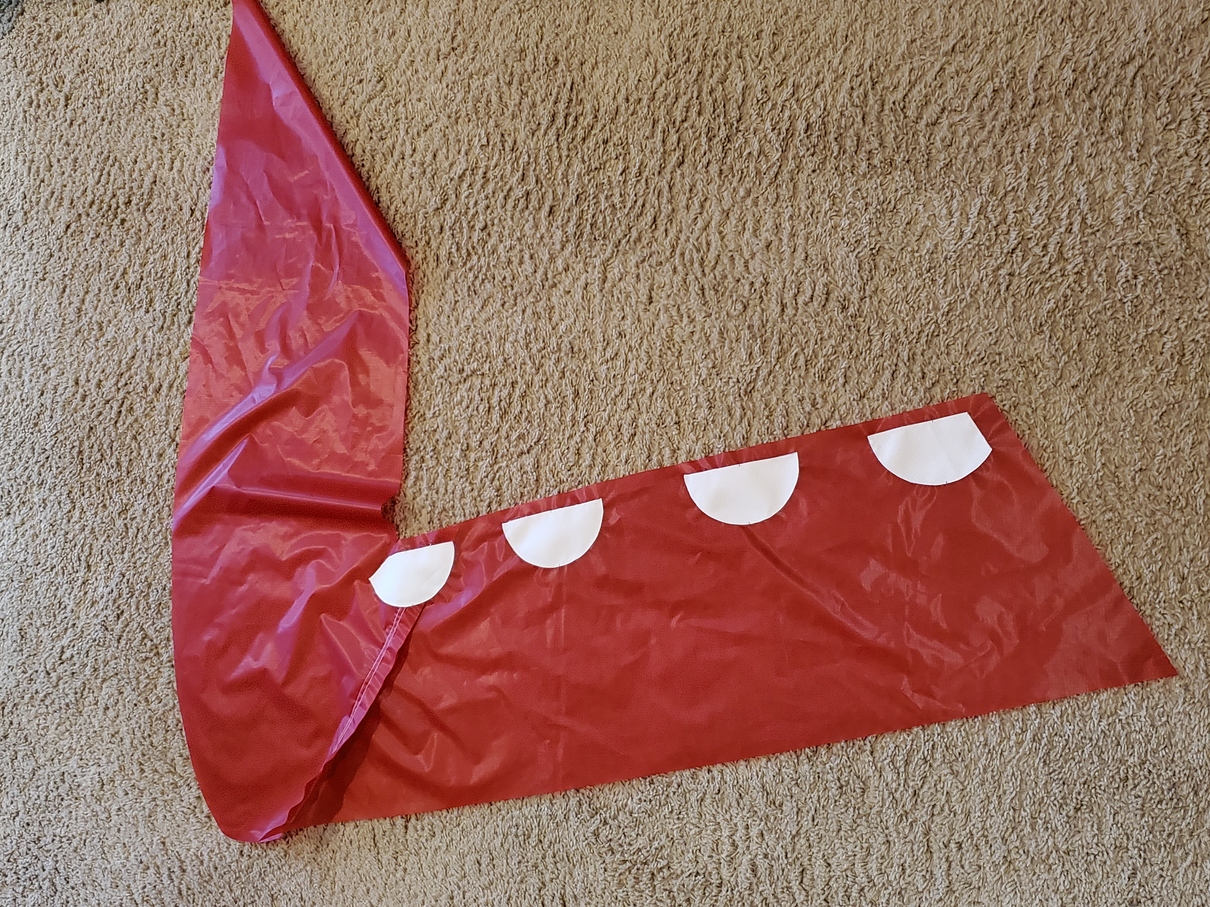
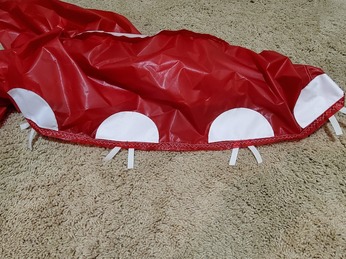
20. Reinforcements on lower
panel 18
|

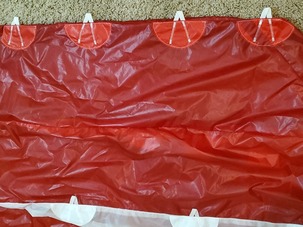
21. Back of lower panel 18
|

22. Attaching upper and lower
panel 17 and 18 to rib 17
|
23. Rib 18 finished
|

24. Turn upper and lower panel
18 inside out and pin edges together
|
25. Sew along edge, inserting
attachment point as I go
|

26. Sew attachment points down
to reinforcements
|
27. Turn upper and lower panel
18 right side out
|

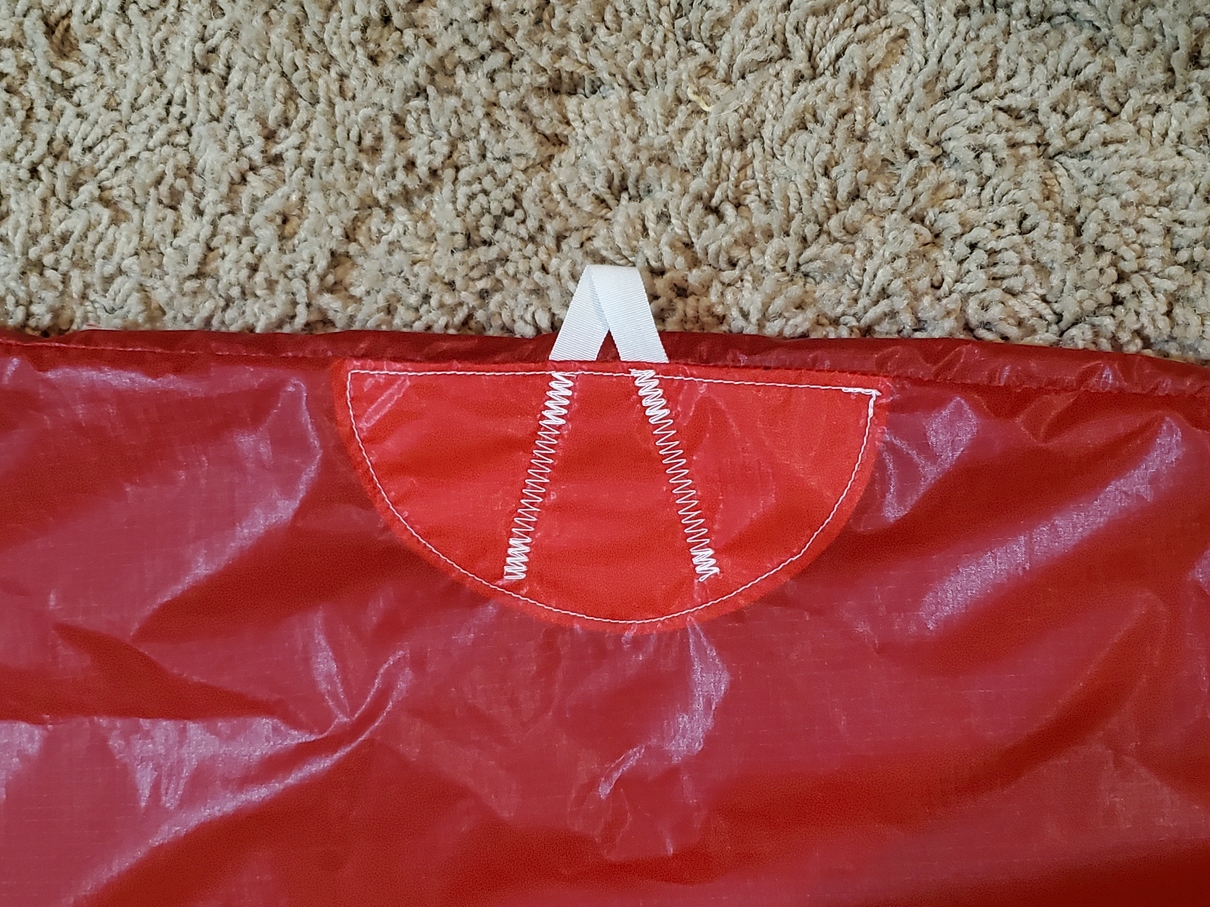
28. Close up of lower panel 18
|

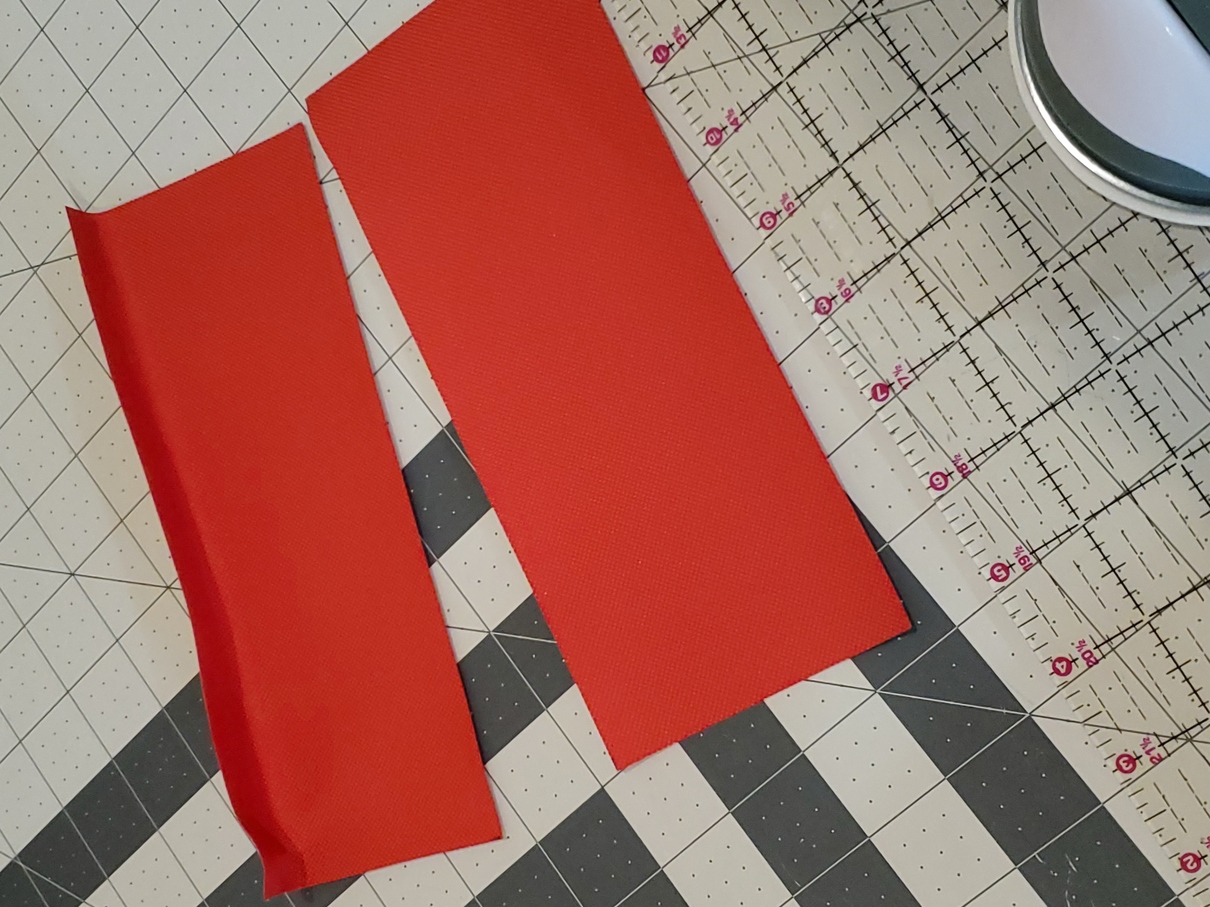
29. Cutting 2 inch strips to
make half inch double-folded bias tape
|

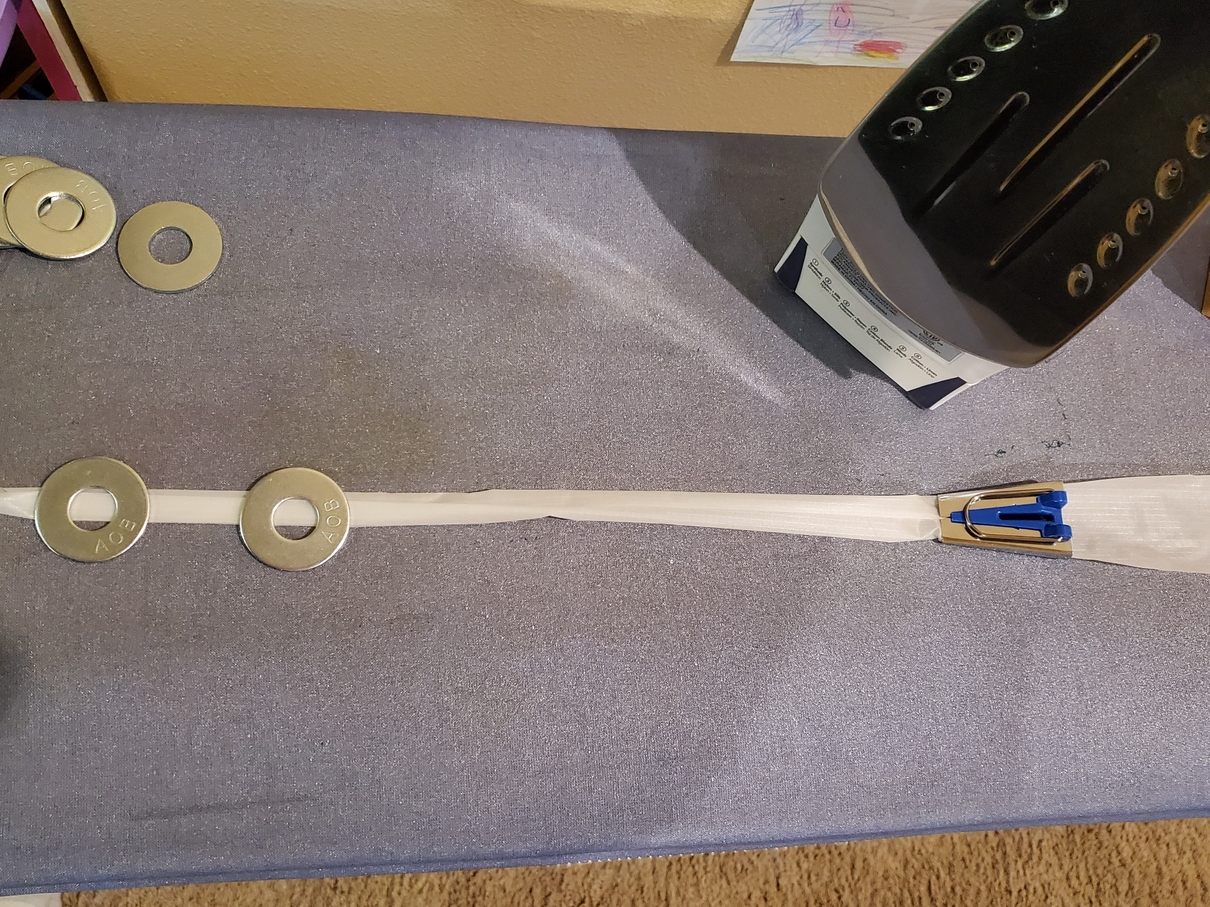
30. Fold strip with bias tape
tool and iron on light setting
|
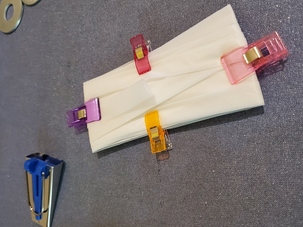
31. Wrap bias tape around
cardboard for future use
|

32. First sew reinforcements to
rib, then rod pocket, next sew double-bias tape along edges and finally
sew on attachment points
|

33. Sew panels 14 and 15 to rib
15
|
34. Rib 15 completed
|
35. Bottom view of completed
cells 15-18
|

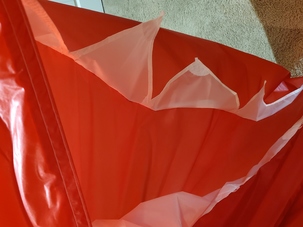
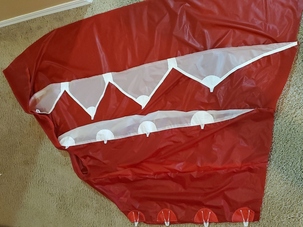
36. Progress pic
|

37. Progress pic
|

38. Progress pic
|
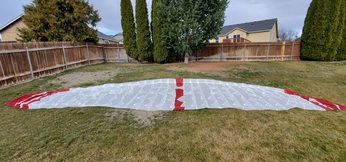
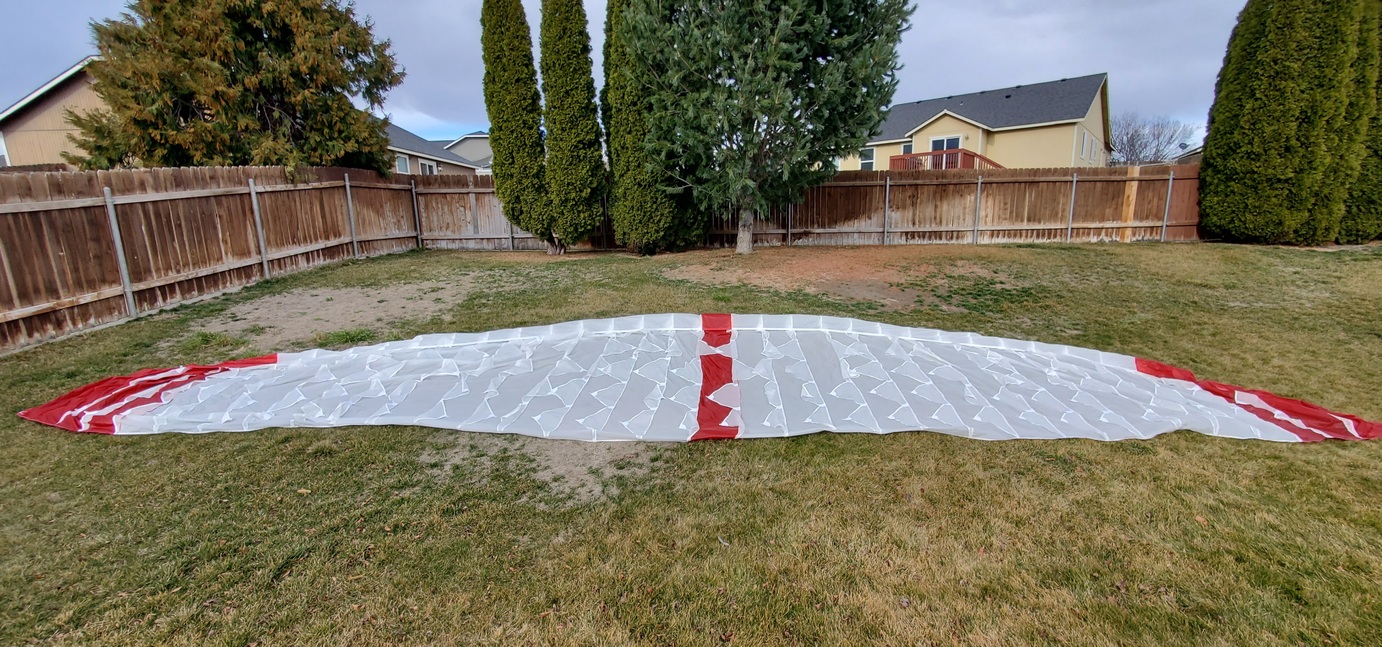
39. All panels done
|
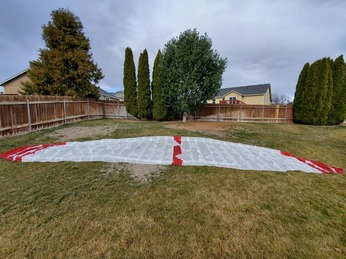
40. All panels done
|
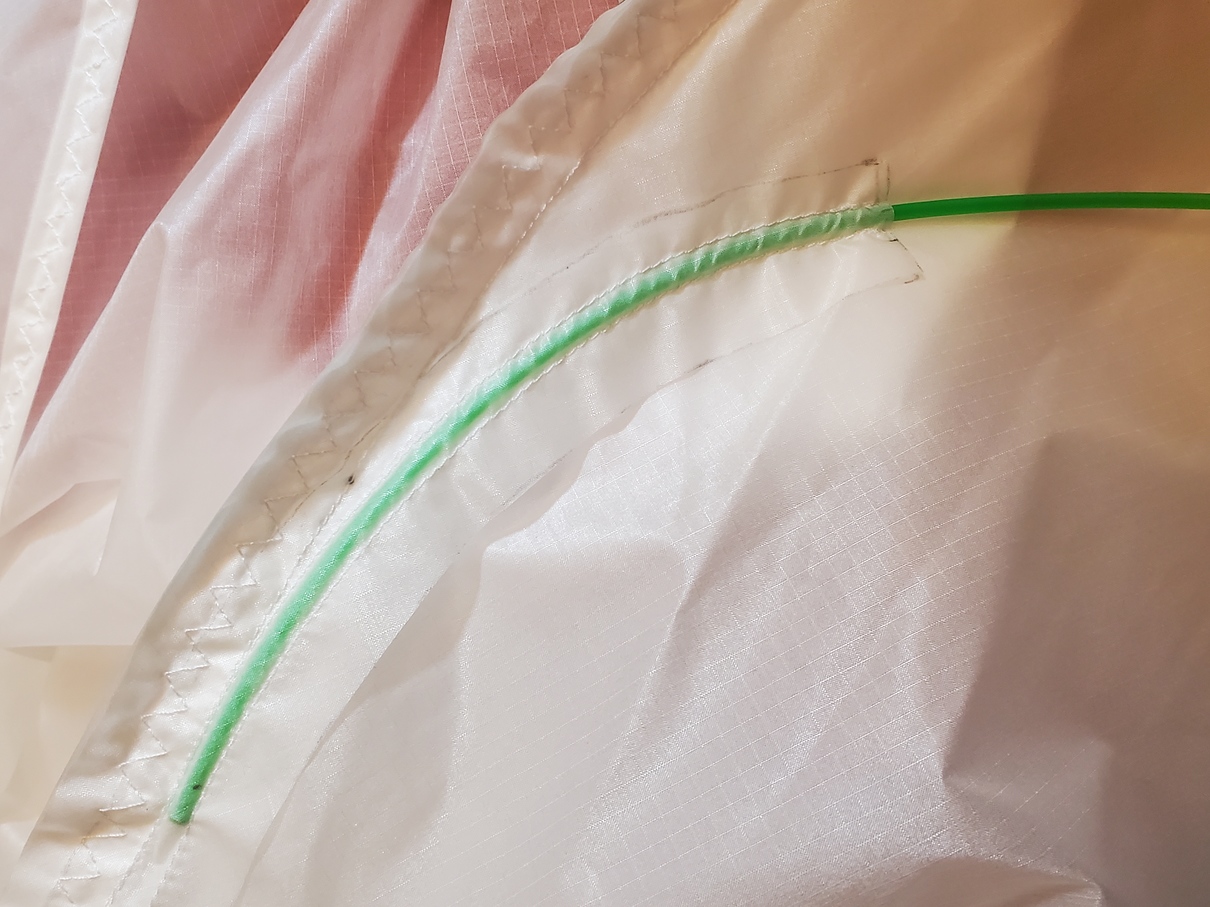
41. Insert nylon rod into rod
pocket
|

42. Close rod pocket
|

43. Finished rod pocket
|

44. All rod pockets done
|
45. All rod pockets done
|

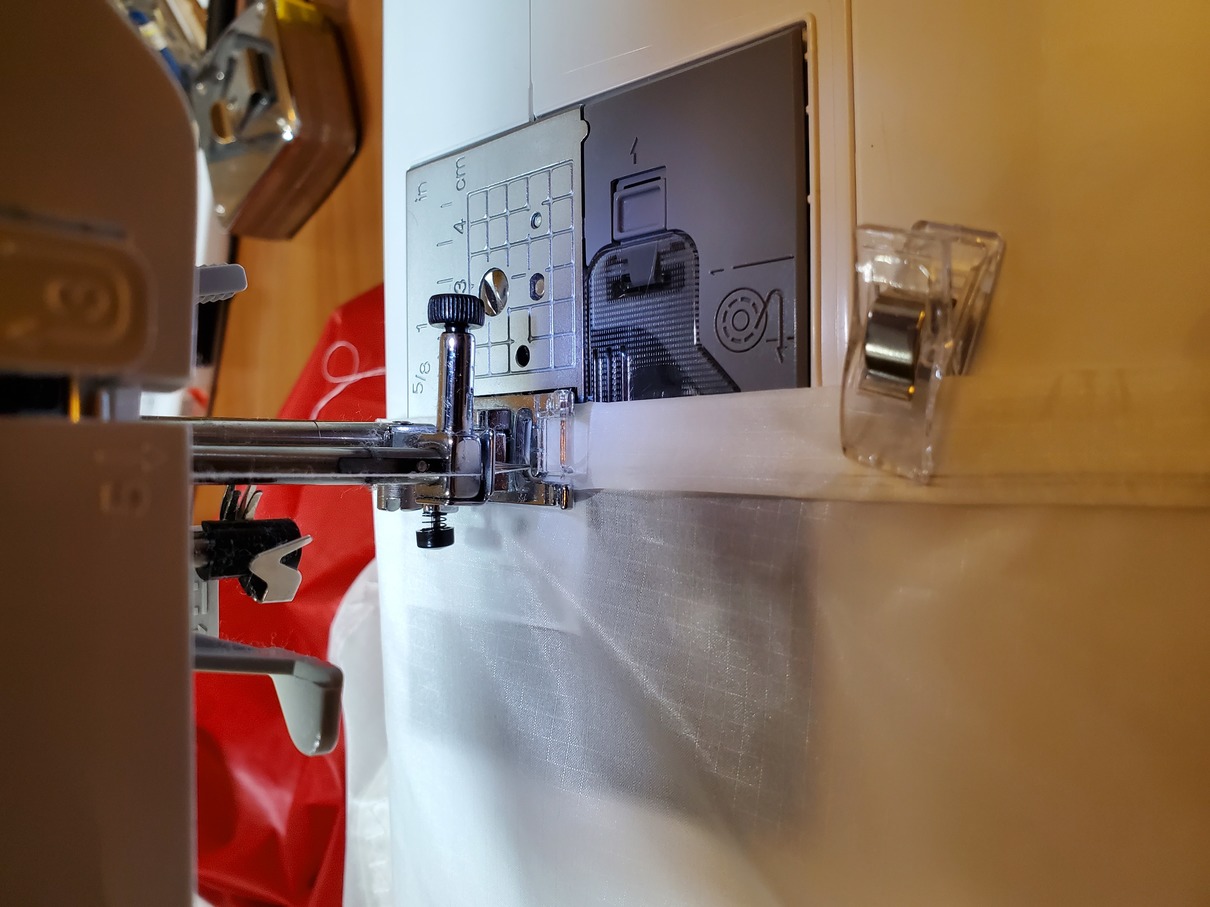
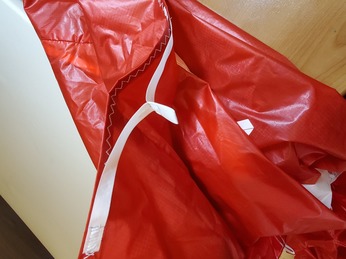
46. Sewing bias tape along
trailing edge
|

47. Sewing bias tape along
trailing edge
|

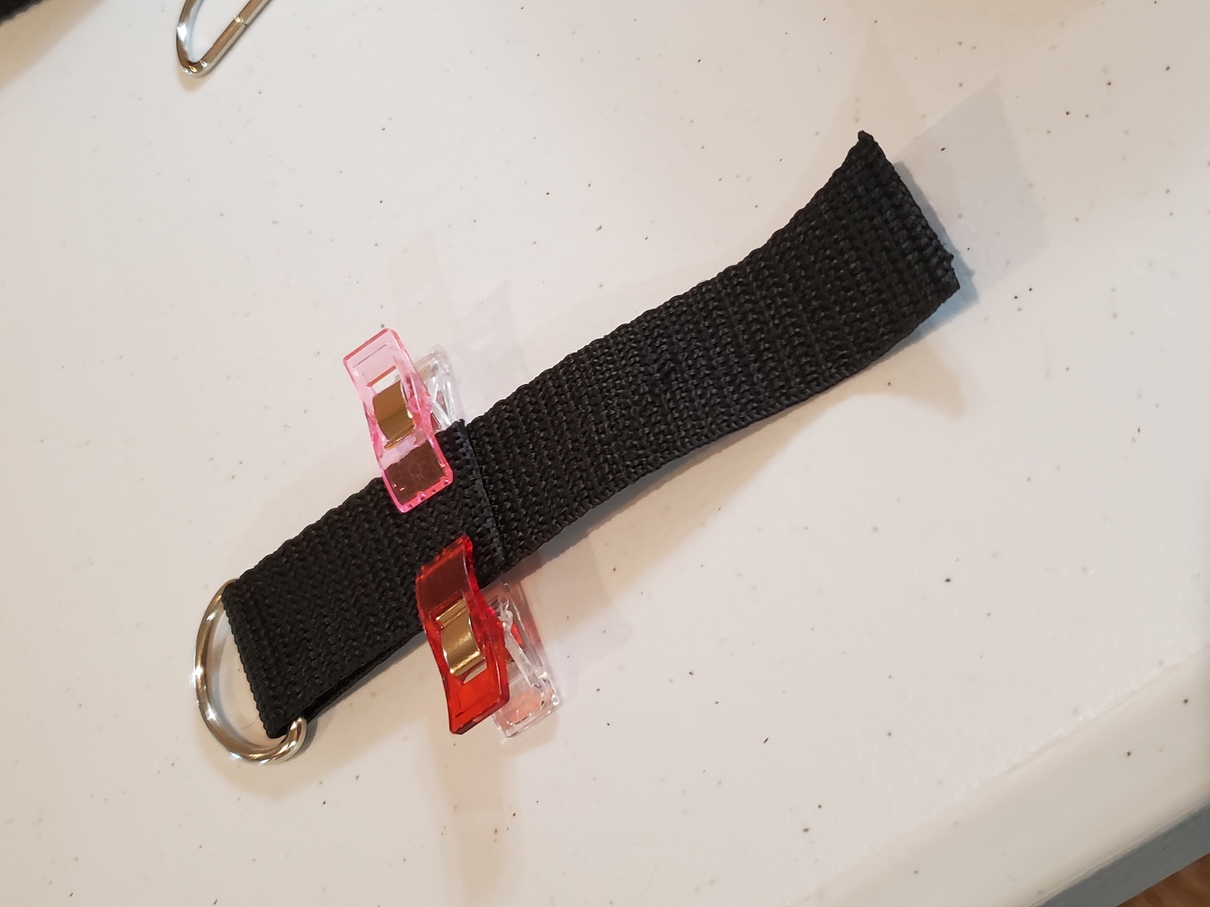
48. Preparing brake attachment
point
|
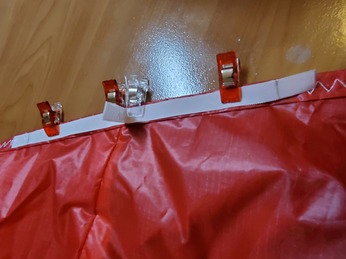
49. Brake attachment point
clipped onto trailing edge
|
50. Brake attachment point done
|

51. Brake attachment point done
|
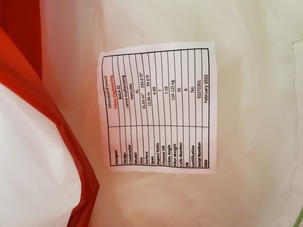
52. Attach information placard
|
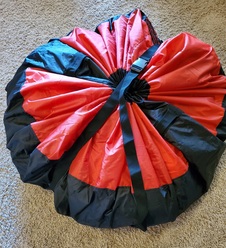
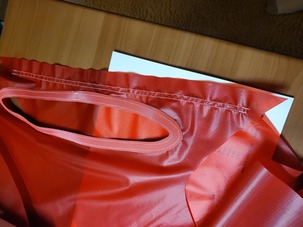
53. New stuff sack
|